

Dealing with the aftermath of a water-related mishap can be overwhelming, but fear not – we’re here to guide you through the process.
Whether it’s a leaky pipe, a flooded basement, or an unfortunate natural disaster, these tips will help you restore your home back to its pre-water-damage glory.
So roll up your sleeves and let’s get started on bringing life back into your space!
1. Move Air Naturally
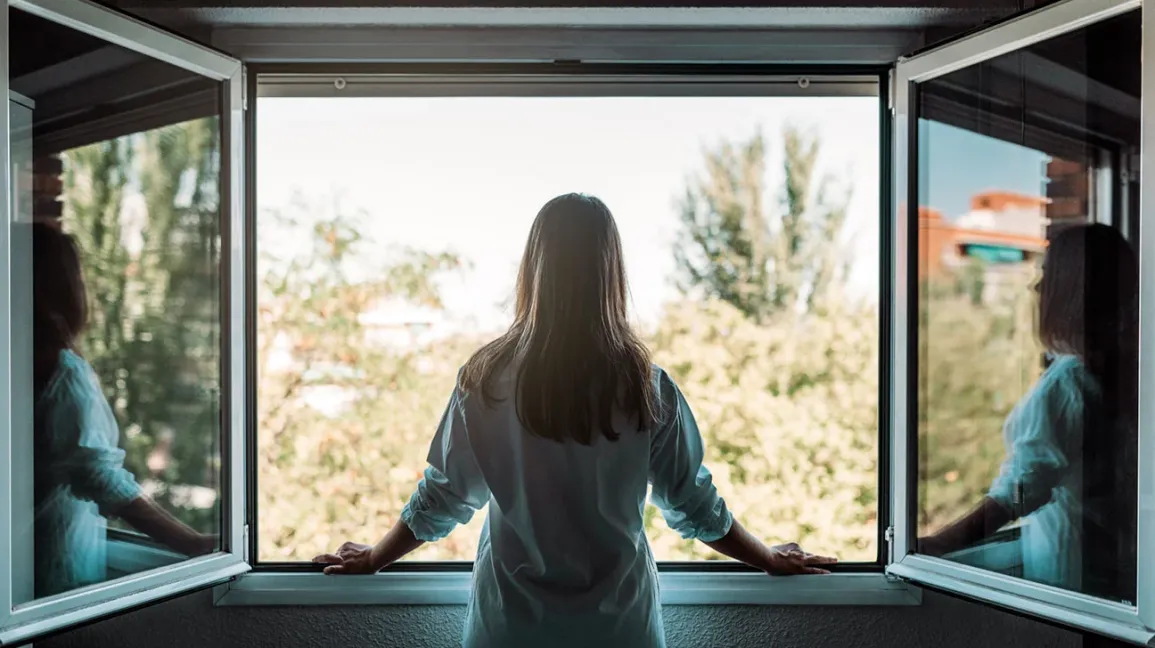
When it comes to drying out your home after water damage, one of the first steps is to move air naturally. This involves creating airflow throughout your space to help evaporate moisture and prevent further damage.
Open up doors and windows to allow fresh air in and stagnant air out. Creating a cross breeze can be especially effective in speeding up the drying process. Additionally, turning on fans or utilizing ceiling fans can help circulate the air even more efficiently.
Another natural way to promote airflow is by using dehumidifiers. These devices extract excess moisture from the air, helping to reduce humidity levels and accelerate drying time. Place them strategically in areas that have been affected by water damage for optimal results.
Don’t forget about Mother Nature! Take advantage of sunny days by opening blinds or curtains to let sunlight stream into your home. Sunlight not only helps dry out damp surfaces but also acts as a natural disinfectant, reducing the risk of mold growth.
2. Move Air Mechanically
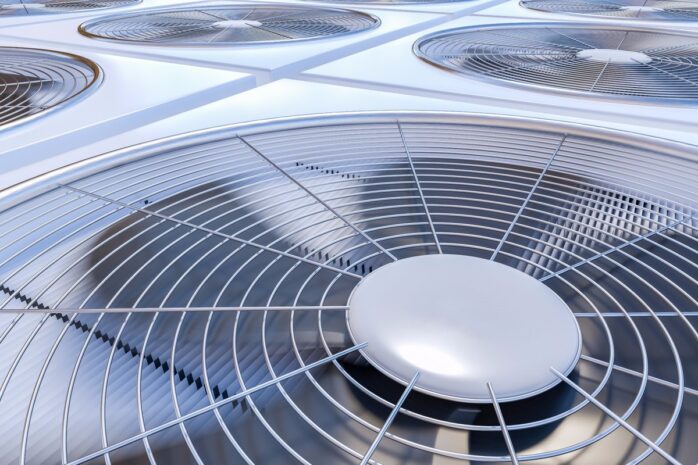
Sometimes relying on natural air movement just isn’t enough. That’s where mechanical methods come into play. By using fans and ventilation systems, you can speed up the drying process and prevent further damage.
Strategically place fans throughout the affected areas of your home. Aim them at walls, floors, and furniture to encourage airflow and expedite evaporation. Remember to open windows and doors to create a flow of fresh air.
Next, consider renting or purchasing industrial-grade air movers or blowers. These powerful machines can move large volumes of air quickly – perfect for larger spaces or severe water damage situations.
3. Dehumidify
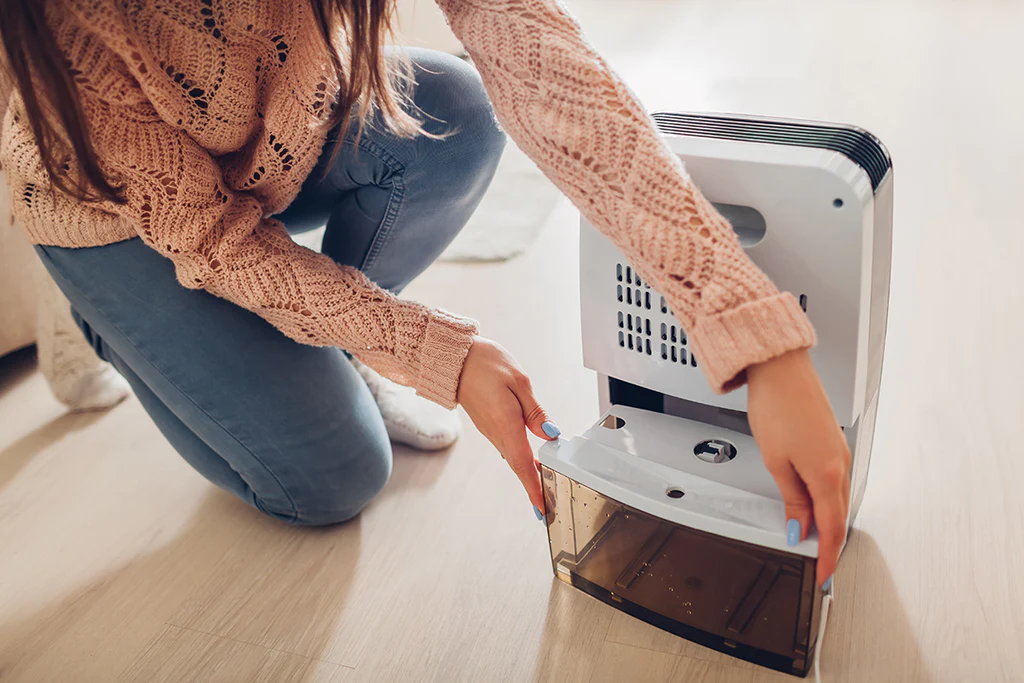
Dehumidifying your home is a crucial step in the process of drying out after water damage. Excess moisture in the air can prolong the drying time and lead to mold growth, so it’s important to tackle this issue head-on.
One effective way to dehumidify your home is by using a portable dehumidifier. These handy devices work by extracting moisture from the air, reducing humidity levels and promoting faster drying. Simply place them in areas that have been affected by water damage, such as basements or flooded rooms.
Another method you can try is using natural dehumidifiers like charcoal or baking soda. Place bowls of these substances around your home to help absorb excess moisture. Just remember to replace them regularly for maximum effectiveness.
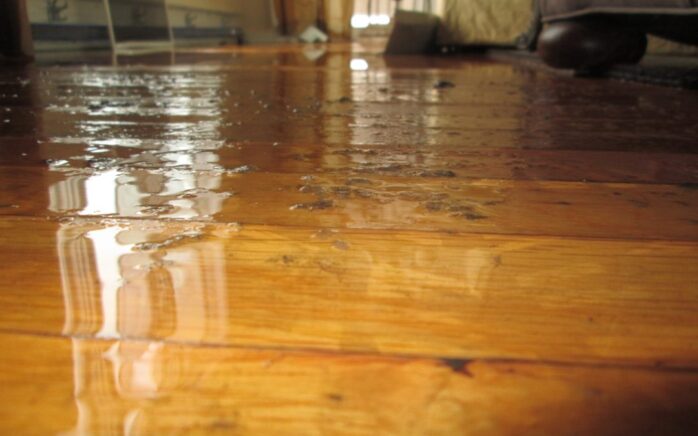
4. Pump Water

One of the most important steps is to pump out excess water. This will help prevent further damage and speed up the drying process.
To begin, you’ll need a reliable and powerful water pump. There are various types available, depending on the extent of the water damage and the size of the affected area.
Submersible pumps can be used for smaller areas like basements or crawl spaces, while portable pumps are more suitable for larger areas.
Before using a pump, make sure you have unplugged any electrical appliances in the vicinity to avoid accidents. Safety should always be your top priority when dealing with water damage.
Once you have set up your pump, position it at the lowest point where water has accumulated and connect it to a drainage system or an outdoor location where it can safely discharge the water. Start by pumping out as much standing water as possible before moving on to other drying methods.
Remember that pumping out excessive amounts of standing water may require multiple passes with the pump. Be patient and thorough in this step to ensure all excess moisture is removed from your home.
5. Wet/Dry Shop Vac

When it comes to tackling water damage in your home, having the right tools can make all the difference. One essential tool that should be in every homeowner’s arsenal is a wet/dry shop vac.
This versatile vacuum cleaner is designed to handle both wet and dry messes, making it perfect for extracting water from flooded areas.
The beauty of a wet/dry shop vac lies in its powerful suction capabilities. Unlike regular household vacuums, these heavy-duty machines are specifically designed to handle liquids without damaging the internal components. With a variety of attachments available, you can easily reach into tight corners or extract water from carpeted surfaces.
Using a wet/dry shop vac is simple and straightforward. Start by setting up the vacuum according to the manufacturer’s instructions and ensure that you have an appropriate filter installed for liquid pickup. Next, begin vacuuming up any standing or pooled water, working in small sections at a time.
6. Remove Sodden Objects
When your home suffers from water damage, it’s crucial to remove any sodden objects as quickly as possible. These soaked items can not only contribute to further moisture and mold growth but can also pose a safety hazard.
Start by removing any furniture or belongings that have been saturated with water. Take extra care with heavy items like sofas and mattresses, as tCheapseotoolz.com may be more difficult to handle when wet.
Next, address any carpeting or rugs that have absorbed water. Roll up the carpet and carefully dispose of it outside your home. If you have area rugs, hang them up to dry or take them outside for thorough cleaning.
Additionally, don’t forget about curtains, drapes, and upholstered items that may have become damp in the floodwaters. Remove these fabrics and launder them if possible; otherwise, consider contacting a professional cleaner who specializes in water damage restoration.
7. Freeze Papers
One common challenge after water damage is preserving important documents and papers that have been soaked. Luckily, there’s a simple yet effective solution: freezing them! Freezing papers can help prevent further deterioration and buy you some time to properly dry them out.
To start the process, gather all the wet papers and arrange them on a flat surface. Make sure to remove any paper clips or staples beforehand. Next, place the papers in resealable plastic bags or containers that are suitable for freezing.
Once sealed, put the bags or containers in your freezer. The cold temperature will halt mold growth and minimize additional damage caused by moisture. Leave them frozen for at least 24 hours to ensure thorough freezing.
Afterward, gradually thaw the documents by removing them from the freezer and placing them in a cool and dry area of your home. Remember not to rush this step as sudden temperature changes can cause further harm.
8. Absorb Moisture

One effective way to dry out your home after water damage is by absorbing moisture. This strategy helps to prevent further damage and mold growth. Here are some methods you can use to absorb moisture:
1. Use desiccants: Desiccants are substances that absorb moisture from the air. Common examples include silica gel packets, activated charcoal, and calcium chloride crystals. Place these in affected areas to help draw out excess moisture.
2. Utilize baking soda: Baking soda is a natural deodorizer and also absorbs moisture. Sprinkle it liberally on damp carpets or upholstery, let it sit for several hours, then vacuum it up.
3. Employ kitty litter: Kitty litter may be known for its ability to absorb odors, but it can also work wonders at absorbing excess moisture in your home. Spread a layer of clean kitty litter over wet surfaces and leave it overnight before sweeping or vacuuming it up.
4. Opt for rice: Rice is not just great for cooking; it can also serve as an excellent absorber of humidity! Fill old socks or pantyhose with uncooked rice and tie them off tightly before placing them in damp areas.
5. Consider using dehumidifiers: Dehumidifiers extract excess humidity from the air, helping to speed up the drying process effectively.
By employing these methods, you’ll be able to efficiently absorb moisture from your home after water damage has occurred without leaving any residue behind! Remember always seek professional assistance when dealing with extensive water damage situations
9. Add a fresh coat of paint
When it comes to drying out your home after water damage, one often overlooked but effective method is adding a fresh coat of paint. Not only does it help to restore the appearance of your walls, but it can also help in the drying process.
Before applying any paint, make sure that all affected areas are completely dry and free from moisture. This will prevent any further damage or mold growth. Use fans and dehumidifiers to speed up the drying process if necessary.
Next, choose a high-quality waterproof paint that is specifically designed for use in damp or humid environments. These types of paints have special additives that inhibit mold and mildew growth.
Seek professional assistance
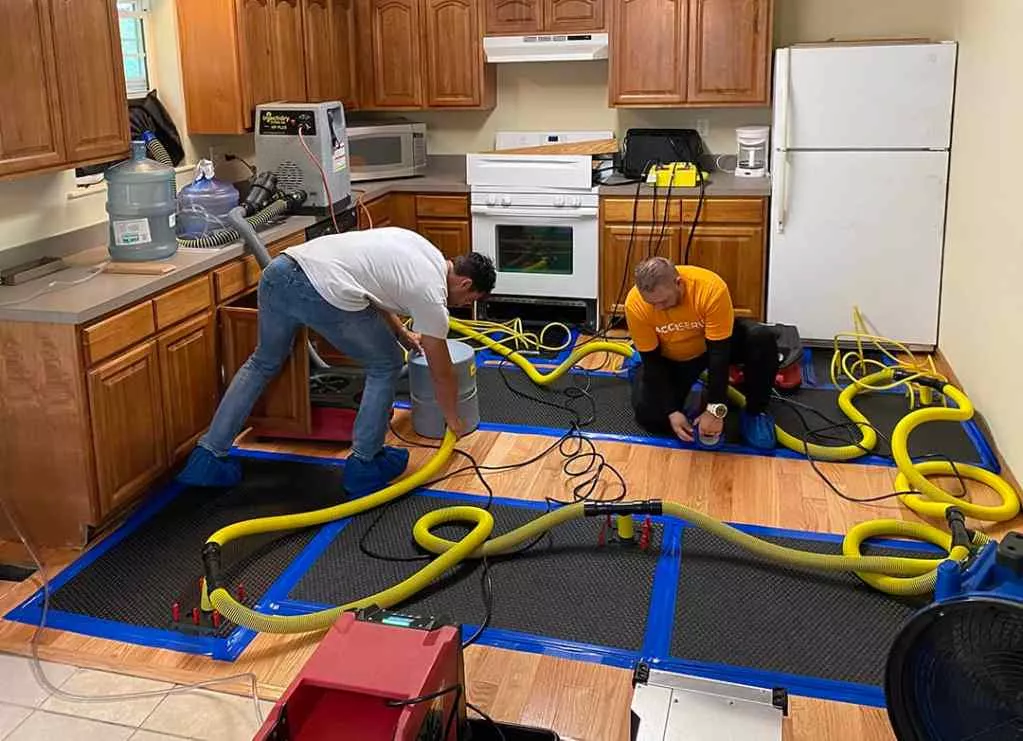
Seeking professional assistance is crucial when it comes to dealing with water damage in your home. While there are several steps you can take on your own, sometimes the situation requires the expertise of trained professionals.
Water damage restoration companies like macfawn have the necessary equipment and knowledge to effectively dry out your home and prevent further damage.
Macfawn have specialized tools such as high-powered fans, industrial-grade dehumidifiers, and moisture meters that can accurately assess the extent of the damage.
These professionals also have experience in identifying hidden pockets of moisture that may not be immediately apparent.
FAQs
Q: How long does it take for a home to dry out after water damage?
A: The drying time can vary depending on the extent of the damage and the conditions in your home. In general, it can take anywhere from a few days to several weeks for a home to fully dry out. Factors such as humidity levels, ventilation, and the type of materials affected can all impact the drying process.
Q: Can I dry out my home myself or should I hire professionals?
A: It is possible to dry out your home yourself if the damage is minimal and you have the necessary equipment. However, for more extensive water damage, it is recommended to seek professional assistance.
Q: Do I need to remove all wet items from my home during the drying process?
A: Yes, it’s important to remove any sodden objects from your home during the drying process. Wet items can prolong drying time and increase the risk of mold growth. Be sure to properly dispose of any damaged items that cannot be salvaged.
Q: Will opening windows help speed up the drying process?
A: Opening windows can help improve air circulation but may not necessarily speed up the overall drying process. It’s important to strike a balance between natural airflow and controlling humidity levels with dehumidifiers or fans.
Remember that every situation is unique, so if you have specific questions about your own water-damaged property, don’t hesitate to reach out for professional advice!


