

Marketing is a core part of business, whether we’re talking about a startup, a decently-sized business, or a multi-national company. After all, selling products or services is how you make money and grow. And you can’t sell to people who don’t know who you are. Marketing is how you raise awareness about your brand.
That said, marketing is a general term for channels and techniques that you can use to spread awareness. Among these, banners are one of the most popular because they’re inexpensive, long-lasting, reusable, and can reach many people. Plus, they’re super-easy to make.
You can actually come up with your very own custom design online, print it, and then have it delivered to you using a banner customizer!
But how? Here are five easy steps to follow:
1. Pick a Banner Template
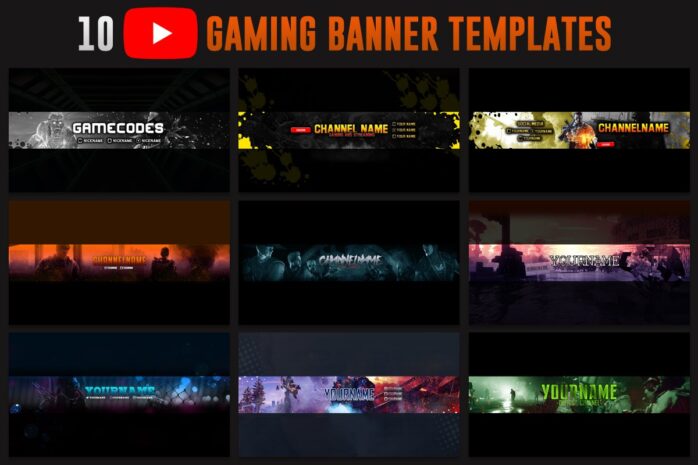
The first thing you want to do once you’re on a custom banner printing website and want to create your own banner is to choose your template.
Starting with a pre-made template doesn’t mean you will end up with something unexciting and generic. In fact, most banner printing services have numerous creative templates you can browse to find something that suits your business. Each design is typically created by a professional and experienced graphic designer. Think of a template as a blank canvas you will use to create something unique that will truly engage your target audience.
That said, you can go through each template individually or filter depending on the general features you’re looking for, for instance, size or color.
2. Upload Your Image

Once you’ve found the perfect template to work with, you can start the customization process. Images are no doubt visually appealing and will capture the attention of potential customers within the split second they will glance at the banner, whether you place it outside your business (or your competitor’s) or at a busy intersection or overpass.
If the image is captivating, it will definitely make the viewer spend a little longer on the message on the banner. So, choose the image you want printed very carefully. There are lots of imagery options you can explore. For instance, you could upload professionally taken photos of your products or services, such as in the case of a food vending business or, for a professional service, a quality self-portrait.
You could also go with captivating stock images, a collage, or even a colored or gradient backdrop if you just want to keep all eyes on your message. That said, there are no hard rules on the images you can or can’t use as long as they’re royalty-free. So, it’s okay to be creative and experiment with different ideas during this stage.
3. Add Your Custom Message

Next up, you want to add your text. While an image is about capturing the attention of your target customers, the message on your banner should deliver value quickly. Basically, you want to achieve three things: introduce your brand, explain what you’re offering, and finally, call the viewer to action.
You don’t want to stretch out your message, as most people won’t have enough time to read it, and more importantly, you want to be compelling so that you stick in people’s minds for longer. So, come up with the best tagline for your campaign and use a striking text format. You can also play around with colors to separate your message. For instance, you can have your advertising message in one color and the contact information in another to add contrast. You can even get playful and add emojis to connect with your clientele better.
That said, ensure your image and text are well put together. You can either have an image occupying part of the banner and have your text on the remaining space or layer text over your image. And remember, personalization and appealing to customer emotions are key. Package your message in a way that will make the person viewing your banner feel like you’re talking to them directly.
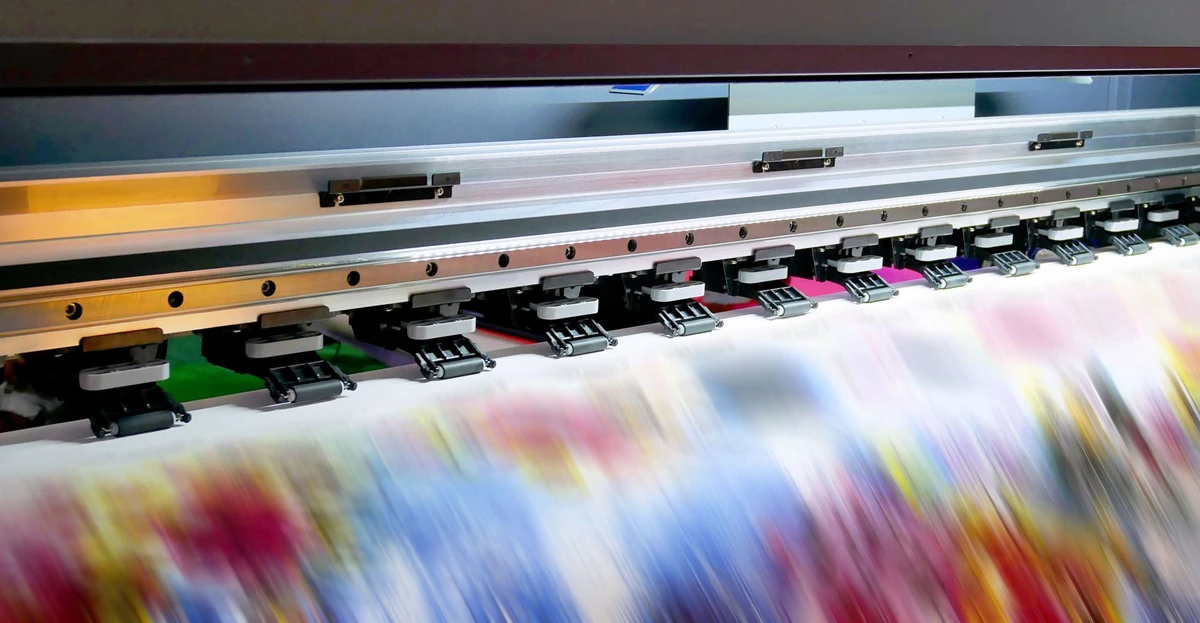
4. Select Your Banner Printing Specification
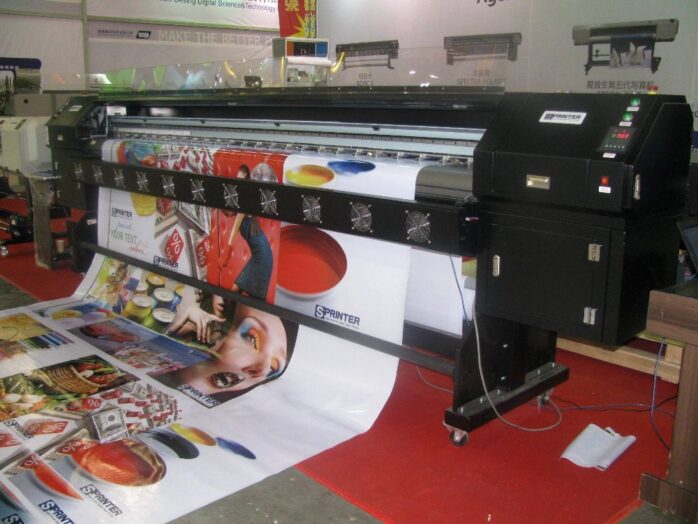
Once you’re done with the design and customization bits, you can now set the printing requirements for your banner. That is, how you want your banner to look and feel once printed. Specifically, you want to select:
- The size, that is, the length and width you want.
- The material that will be used- there is usually more than one option here, including fabric and vinyl, with varying heaviness. The heavier the material, the more resilient it will be and the more times you can reuse your banner.
- The hemming and grommets.
- Single or double-sided printing.
- Finishing, that is the final touches.
If you choose the right online custom banner designing printing tool, you will have so many options to customize your banner to the exact style and look you want.
5. Preview Your Banner Design & Order
The final step of your banner creation process is previewing. Basically, previewing helps you get an idea of how your banner will come out once it’s printed. The good thing with this banner customizer feature is that if you don’t like something, you can simply go back and tweak or remove it. You can do this as many times as you desire until you’re satisfied with what you see.
Once you’ve looked at everything and confirmed that’s what you want, it’s time to finalize your order, including adding your shipping details. You will receive your banner to your liking and start marketing your brand.
Use a Banner Customizer to Create the Best Banner for Your Business Fast and Cheap
Creating a banner for your company’s campaign with a banner customizer has never been easier. You can get a pre-designed template, drag and drop features to come up with a unique look, and print all on your phone or computer. And the best part is you get all that customization and quality pretty inexpensively. So, try creating your own banner and bring your cutting-edge marketing ideas to life!


