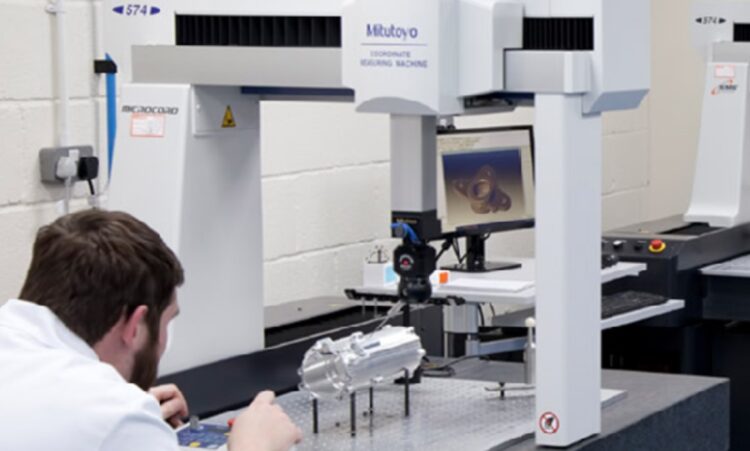
Coordinate measuring machines boast the incredible ability to intricately and accurately measure parts of all shapes and sizes. Nowadays, these machines play a significant role in manufacturing, assessing, and reverse engineering products.
These capabilities, however, did not happen overnight. The inception of CMM technology occurred in the 1950s during the industrial revolution when businesses realized how precision measurement could advance their production abilities and product quality.
Thanks to subsequent breakthroughs in coordinate measuring technology, these machines now provide efficient and accurate measurements and automate processes to streamline businesses in varying industries.
To truly grasp the capabilities of coordinate measuring machines, you need to see where they started (as a two-axis machine) and pinpoint the different advancements that make the technology what it is today.
The Inception of CMM Technology
Of course, no metrology breakthroughs could have happened without Ferranti and DEA building the first CMM in the 1950s. These machines debuted at the Paris International Machine Tool Exhibition in 1959. You can now buy different types of new and used CMMs and receive measurement services from retailers like Cmmxyz.com to revolutionize your production capabilities.

The First Electronic CMM
Quality Digest reports that the first electronic CMM was developed in 1960. This development marked the first addition of metal scales and encoders so that these machines could read scales and instantly display data digitally for operators.
The Probes
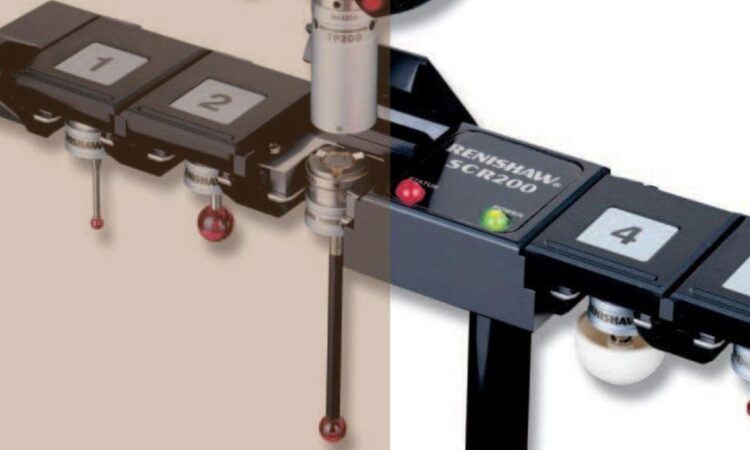
Probes play an essential role in CMM technology as they measure objects on an axis to calculate precise data. These probes have seen a few different advancements to suit various projects and a wider variety of items.
The Touch Trigger Probe: The Touch Trigger Probe, developed by the Rolls Royce Group’s Sir David McMurtry in 1972, was a breakthrough technology. This technology allowed Concorde Aircrafts to assess its Olympus engines and ensure the engines met all specific requirements. The breakthrough changed the capabilities of the CMM entirely by revolutionizing its measuring abilities.
While the current mechanical probes measured flat, round, and cylindrical surfaces, the touch probe allowed these machines to relocate probes and accurately measure a wider variety of shapes and dimensions.
The 3D Measuring Probe: In 1973, Zeiss introduced a 3D measuring probe consisting of three stacked axes. Each axis boasted an actuator and acted as an inductive sensor and generate probing force.
This breakthrough led to the development of a motorized probe, automating probe changing racks, affordable scanning probes, and the automatic probe stylus. With these probe advancements, operators no longer had to adjust probes to measure objects manually.
The First-Ever Computer Controlled CMM
German firm Wild Leitz G.m.b.H revolutionized the capabilities of CMMs in 1974 when it developed the first-ever computer-controlled coordinate measuring machine.
With direct computer control came automated measuring capabilities so that manufacturers and related businesses could streamline their processes, increase production accuracy and output, and reduce or relocate labour resources.

The Metrology Software
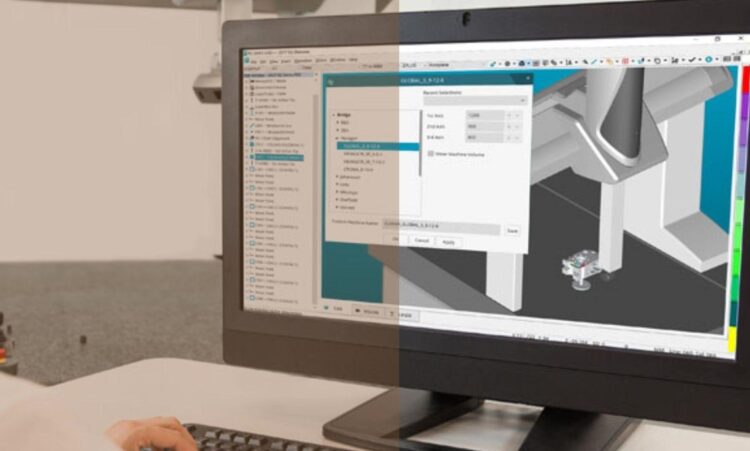
Metrology software plays an essential role in the automation and data reporting capabilities of CMMs. Swiss company Metromec developed the first metrology software in the 1980s. Based on PC technology, this technology helped improve the machines’ overall user-friendliness to make the technology usable by a wide range of people in varying industries.
PC DIMIS: The now almost universally used CMM software, PC DIMIS, was developed back in 1990. The software allows operators to move probes to measure a wide range of objects and has since become a favourite of CMM operators around the world. CMM service providers and educators now provide P DIMIS training to ensure operators know the software and how to use its features effectively.
Since its development, PC-DIMIS has remained the leading CMM software. Still, there have been different software developed to suit the varying measuring needs of businesses and operators.
The Portable CMM
When the portable CMM was first established in the 2000s, it brought a new set of opportunities to the world of dimensional measurement. With these advancements came mobility for the technology that, at the time, was fixed to a factory floor.
Businesses can now benefit from using a portable CMM machine for on-site measuring services and measuring different products that require more mobility.
The Sensors & Scanners
In time, CMMs had to face the task of measuring intricate, fragile parts without compromising their integrity. As a result, specific scanners and sensors were developed to measure items without having to touch them with a probe.
The No-Touch Sensor: The no-touch sensor was developed in 1985 and was what first allowed these machines to measure items without coming into direct contact with them. Now, according to Metrology News, almost all CMM suppliers around the world supply multi-sensor solutions.
The Laser Tracker: Dr. Kam Lau developed the first laser tracker in 1986. These laser trackers enabled machines to measure and simulate the geometry of an object without touching it. This technology is now used for reverse engineering and analyzing specific, intricate parts.
The inception of the laser tracker advanced how CMMs were able to obtain, report, and display measurement data, and led to Dr. Lau refining tracking technology as a whole.

Coordinate Measuring Machines Today
Today, CMMs are operating worldwide, providing quality control for the vast majority of precision manufacturing companies. According to Metrology News, there are roughly 150,000 units of CMMs are installed worldwide.
Thanks to the many breakthroughs made between the 1960s and the 1980s, CMM technology has continuously provided precise, accurate, and valuable measurement data. Since these breakthroughs, however, little about these machines have changed. After all, why fix something that isn’t broken?
That said, there are current CMM capabilities that are continually being improved. The most significant advancements currently being worked on in the space revolve around non-contact scanning, micro metrology, and laser scanning capabilities. The most recent advances have been upgrading essential software and the refurbishments and retrofits used to restore used machines to work like new on the factory floor.
With the growing needs of coordinate measuring machine technology, it should come as little surprise that the coordinate measuring machine market is projected to garner staggering revenues come 2028.


