
One ongoing headache of travel is finding a way to get your hands on data and trying to find a service provider overseas while navigating scams.
I’ve spent a lot of time travelling the globe and I’ve been using a technology that allows me to connect to data as soon as my plane touches down, no need to bumble around searching for a reliable service.
What is this magical tech? eSIMs.
In this comprehensive guide, we’ll cover everything you need to know about using an eSIM to help you with stress-free global connectivity.
What is eSIM and How Does it Work?
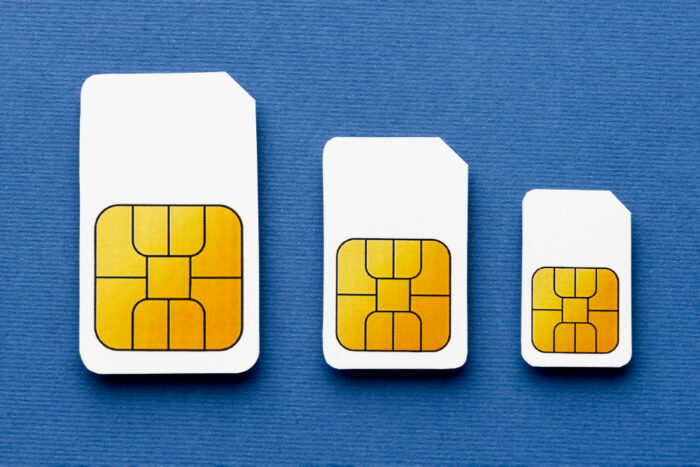
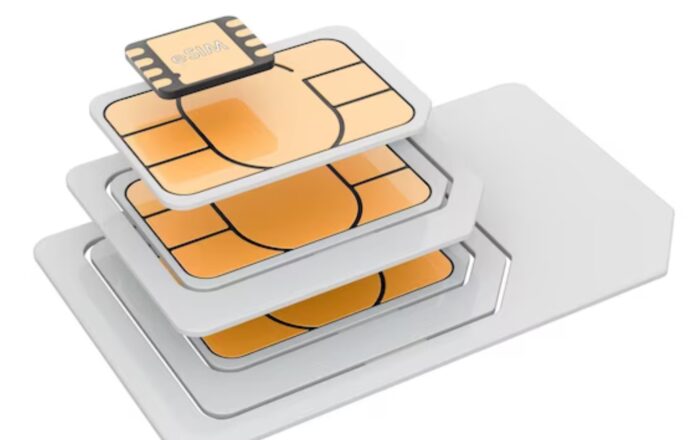
A Travel eSIM (embedded SIM) is a digital SIM card that is built into your phone. It works similarly to a physical nano SIM card, except everything is handled digitally through an app and internal software. eSIMs allow you to activate cellular plans from different carriers.
In this example, I used an eSIM called Travel eSIM (you can learn more about this app here buytravelesim.com), but there are plenty of other reputable services you can choose from as well.
This gave me mobile data, calls, and texts without roaming fees.
eSIM technology is supported on newer model iPhones and Android devices. For iPhones, the XS, XR and newer models work. Many recent Android phones like the Google Pixel 3, Samsung Galaxy S20 also support eSIM.
Your phone must be unlocked to use an eSIM service. You can check if your device is unlocked in the settings under General > About. Contact your carrier if you need help unlocking your phone.
Choosing the Right Travel eSIM Plan
The Travel eSIM app offers several plan options depending on where you are traveling:
Local eSIM – Best for visiting a single country. Provides access to a local network with the best rates.
Regional eSIM – For trips involving multiple countries in one region (e.g. Europe). Allows you to seamlessly cross borders.
Global eSIM – Ideal for frequent travelers visiting multiple regions. Comes in data-only or with calls/texts.
When choosing your plan, consider the length of your trip, countries being visited and your estimated data usage. The Travel eSIM app makes it easy to compare plans and pricing.
If unsure how much data you need, 1GB can provide light usage with email, social media and internet browsing for one month. Activities like video streaming use much more data.
Purchase backup data packages for heavy usage times. You can add these to your plan if needed once abroad.

Downloading the Travel eSIM App
First, download the Travel eSIM app from the Apple App Store or Google Play Store. Search for “Travel eSIM” and look for the blue icon.
Open the app and click Sign Up to create a new account. Enter your email and password to register. You’ll need to verify your email to complete signup.
Explore the in-app language options if you need to change from default system language. You can also contact 24/7 customer support through the app.
Purchasing Your Travel eSIM
Once registered, it’s time to purchase your Travel eSIM plan. Tap on Store and select the region you need – Local, Regional or Global.
For a single country visit, choose Local. I’m traveling to France for 2 weeks as an example. Type “France” into the search bar.
Review the available France plans. I select the 3GB option for 13.97 (AUD Australian) which meets my needs. Click “Buy Now”.
Choose your payment method. I prefer using my Revolut card which has no foreign transaction fees. Complete purchase.

Installing Your Travel eSIM
After purchase, you can install the eSIM right away or save it for later activation. I’ll install now for the upcoming trip.
Tap “My eSIMs” and select your plan. Go to Details > Install eSIM. Ensure your phone remains connected to the internet.
Click through the setup guide. When prompted, choose to install eSIM. The installation takes 2 minutes on average. Keep the app open until completed.
Next choose your default phone number for calls/texts. I prefer my regular number as primary. eSIM data kicks in automatically.
Name your eSIM something relevant like “France Trip”. This helps manage multiple eSIMs. Leave mobile data switching off – prevents accidental roaming.
Activating Your eSIM for Travel
Open Settings > Cellular > SIMs and select your France Trip eSIM. Make sure mobile data and roaming are enabled.
I leave network selection on automatic to choose the best French network. You can also manually select a specific carrier.
Confirm the APN field is populated. If not, refer to Travel eSIM support for APN settings based on your plan. This ensures mobile data will flow.
That’s it! Your Travel eSIM is all set to connect automatically once in France. No need to fiddle with SIM cards once you arrive.
Managing Your eSIM on a Trip
The Travel eSIM app makes it easy to monitor usage and add data while traveling. Open the app to keep an eye on remaining data.
You can also add a data usage widget to your home screen for quick checks. Data thresholds warn when approaching your limit.
Purchase in-app top-up packages if needed. 1GB extras start around €10-15 based on country. Manage add-ons from the “My eSIMs” section.
To conserve data, download Google Maps areas over WiFi before venturing out. This allows offline navigation and less mobile data drain.
Switch on Low Data mode to pause background updates. Track usage by app in Settings to identify any data hogs.
Using eSIM With Dual SIM Phones
Many modern phones support dual SIM capability with both a physical and eSIM. This means you can have two lines active at once.
Your regular number stays on the physical SIM while traveling. The Travel eSIM handles cellular data and optionally calls/texts. Juggle between the two SIMs easily.
On iPhone go to Settings > Cellular and tap on your physical SIM. Disable mobile data roaming so your phone only uses Travel eSIM data abroad.
With Android dual SIM, set your Travel eSIM as the preferred data line. Toggle off background data on your regular SIM to prevent unintended roaming usage.
eSIM vs Local SIM Cards
Travel eSIM provides many benefits compared to using traditional local SIM cards when traveling internationally:
- Activated before you arrive – no airport SIM card hunting
- Easy online management – change plans, add data
- Multi-country options – no swapping SIMs across borders
- Dual SIM compatibility – keep regular number active
- Digital and reusable – no tiny plastic SIMs to lose
- Better security – no handing over physical SIM card
The main advantage of local SIMs is very cheap data rates in some countries. But the convenience of an eSIM like Travel eSIM outweighs this in many cases.
Summary
Travel eSIM makes international travel connectivity a breeze. With cellular data, calls and texts all handled through an embedded eSIM, you can focus on enjoying your trip.
Signup for Travel eSIM in just minutes with the smartphone app. Install your eSIM in advance so you have local access right upon arrival. Manage your plans and data usage all through the app.
No more hunting for SIM cards in a foreign airport or swapping them across borders. eSIM technology lets you seamlessly connect abroad with Travel eSIM.


