

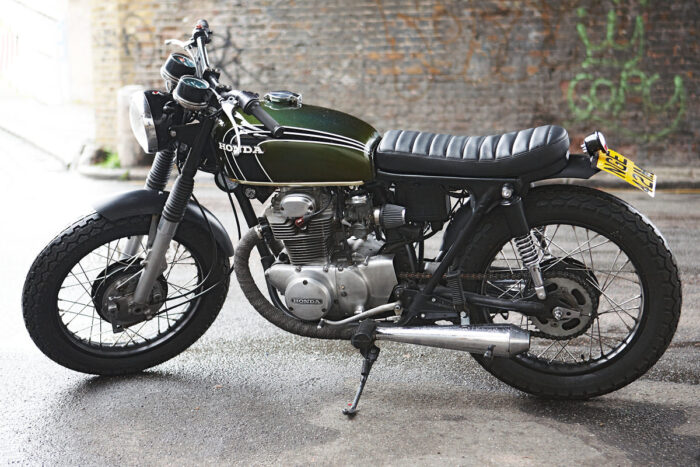
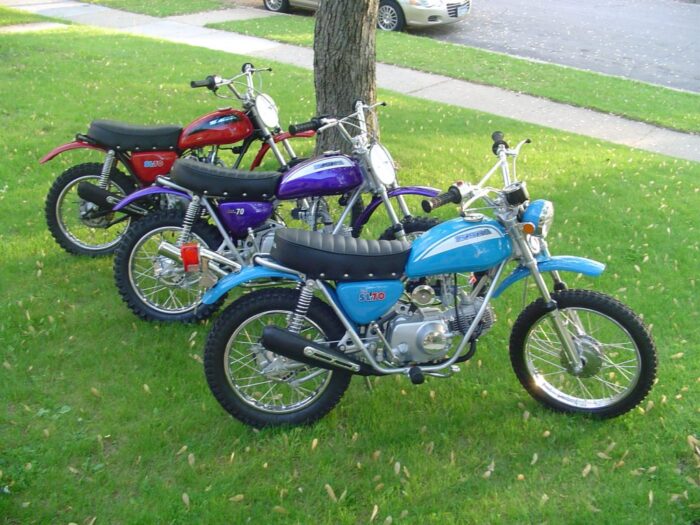
Serious riders know that the most important parts of a dirt bike are beneath the surface. That doesn’t mean they go around trail riding and competing on bikes that look less than their best. Instead, they periodically buy and apply a decal kit to give that old ride a new, eye-catching look. Along with basic maintenance and making repairs as soon as they’re needed, new graphics go a long way toward keeping an older bike in the best shape.
The Benefits of Dirt Bike Graphics
Some of the benefits of graphics kits are obvious. Who doesn’t like to turn heads when they ride by? However, there are also some more subtle benefits to sprucing up an old bike with a graphics kit. Some of the most crucial of them include the following.
Protect the Plastic
As long as riders buy high-quality decals like those found at sengegraphics.com, they can expect their graphics to protect the plastic beneath for years to come. Adding a layer of protection against the elements, including mud and dirt as well as UV damage, can be particularly helpful with an older bike.
Look More Serious
Riding around on an old bike that looks like it has seen better days doesn’t create the best first impression, which can be a serious problem for those who want to garner sponsorships. Applying a graphics kit can make that old bike look new again, encouraging people to take its rider more seriously.
Show Some Personality
There are so many options available for graphics kits that it’s easy for riders to find one that complements their style and shows some serious personality. Why not take the opportunity to make sure the bike doesn’t just stand out from the crowd but also acts as a perfect complement to its rider’s unique style?
Maintain Resale Value
Not every motocross rider is in love with their older dirt bike. Some are just riding older models until they can afford to upgrade. Applying dirt bike graphics is still a good idea since it can help to maintain resale value. Other riders will be more interested if the bike looks like it has been taken care of over the years, and that’s the impression that newly installed graphics kits give.
How to Choose the Right Graphics
Some aspects of choosing a graphics kit for a dirt bike are purely personal. Deciding whether to rep a popular brand or go for decals that look cool but aren’t affiliated with any one rider, team, or sponsor is a good example. Whether to buy a full, 13-piece graphics kit or only a shroud kid, trim kit, or even just a number plate is another.
Other concerns are purely practical. Riders will need to choose graphics kits designed for their specific bikes, which can be somewhat limiting when they ride older models. They will also need to find vendors with reputations for selling high-quality, UV-resistant decals that will withstand the test of time.
Installing the Decals
The process of installing new decals can feel intimidating to riders trying it for the first time, but there’s no need to be nervous. Just take the time to follow each of the steps below carefully and conscientiously to get the best results.
Step One: Remove the Old Graphics
Old dirt bikes typically have graphics already. Removing them can be a challenge for riders who don’t know what they’re doing. The best way to get them off is to use a hair dryer or heat gun to warm them up and soften the glue before gently peeling them away from the plastic using a thin blade.
Step Two: Clean the Plastic
The next step is to clean the surface. Get rid of any dirt on the bike as well as adhesive residues, which can interfere with the application of the new graphics. Don’t use harsh chemical cleaners, though, as they can weaken the plastic beneath. Instead, use warm, soapy water and a sponge to remove dirt.
If scrubbing is needed, try to use a microfiber cloth and apply some extra elbow grease instead of using a hard mud scraper. Be sure to rinse all that dirt and soap off well using a garden hose, then let the bike dry before progressing to the next step.
Step Three: Install the New Decals
This is where it’s important to be patient. Riders who want their decals to look just right need to take the time to place them correctly and apply them smoothly to avoid bubbles, peeling, and other common problems. Be sure that the bike is completely dry before starting, and install the new graphics kit in a shady location. Applying the graphics in direct sun can make it harder to get everything placed correctly.
While the bike should be cool, the decals themselves can benefit from the application of a little heat before they’re applied. Again, use a hair dryer or a heat gun to soften the adhesive. This won’t just make it easier to smooth out bubbles and avoid peeling at the edges but will also give riders some extra leeway when it comes to correcting any imperfections in sticker placement.
Step Four: Wait to Take the Bike Out on the Trails
Riders may be impatient to get their bikes back out on the trails or tracks, but experts recommend caution during those initial hours after a new decal installation. Wait at least 24 hours to give the glue time to harden so that the decals stay in place and don’t get damaged. Being impatient can leave riders back at square one with old bikes that look less than their best, so take this advice seriously.
Get an Old Bike Back to Looking Like New
As long as riders choose high-quality decals and take their time when applying them, graphics kits are the best way to breathe new life into old bikes. Ordering the kit is easy once riders know what they want, so start checking out designs online today.


