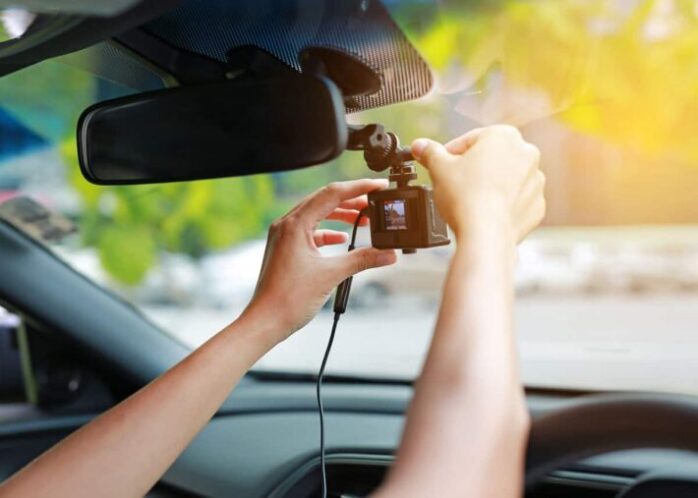
Driving these days can be a challenge sometimes because of people wanting to show up to others and do things that are not safe for them, but they also can be a danger for others. Also, there are people who are doing things on purpose so they can blame you for the thing that they have done, and try to trick you financially. If you are not prepared for these things, you can be targeted easily, however, seeing what people do, and learning from the mistakes that others made, you can protect yourself from it.
The easiest way that you can avoid problems like these is to install a cam that records the road when you are using the vehicle. There are many people who is this method to be safe and to avoid people trying to trick them because it is easy to set it up, and there are no further things that you have to do which are complicated.
In this article, we are going to talk about how you should properly set up a dash camera in 2024 for your vehicle to avoid certain situations, and feel safer whenever you are using it.
Think about the placement
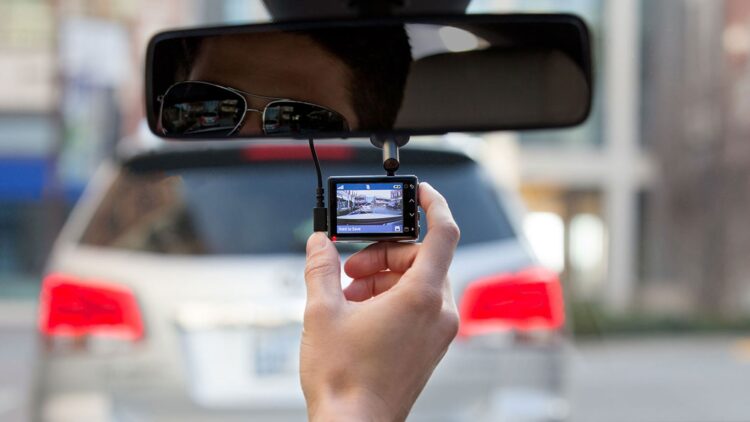
The first thing that you have to think of after getting the device when planning on setting up a cam inside your vehicle is the placement of it. This has to be thought out well because you will have to see where the viewpoint will be, so you know that is in the right place, and you will also have to consider where you will hide the cables that will lead to it. For example, if you are using some of the best car backup cameras to protect the back of your vehicle, you will have to move the cables to the place where the fuses are.
People usually choose one of these positions, the first one is behind the middle mirror, because it will not obstruct your vision and will have the full view, and the second one is to be placed on the plastic above the instrument board as suggested by www.campark.net. The first option is usually better, so you should choose that one if it works in your situation well.
Understand where is the box with the fuses
This is another thing that you have to know where it is positioned. If you don’t know much about your car, you can look for it on the internet, and you will have a clear explanation of how to get to it. Usually is in the area meant for feet, either on your side or on the side of the passenger. Open it up and prepare for the next things that you have to do.
Plan on where you will hide the cables
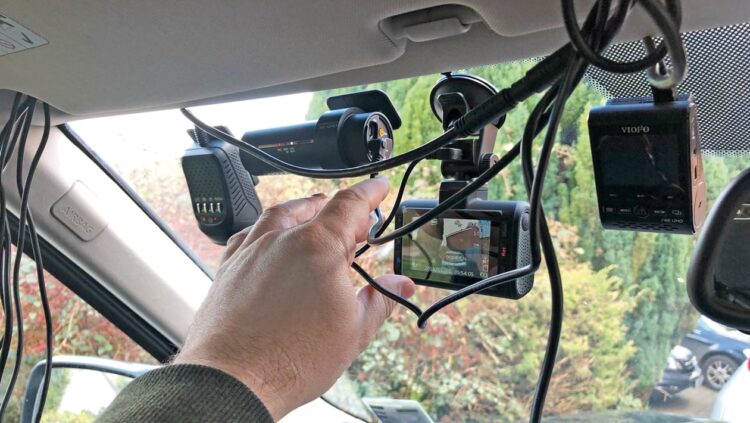
After knowing the previous two things from above, you know will have to make a plan on where you will hide the cables so you keep everything clean but functional. If you plan to put the cam behind the middle mirror, you will be able to do it easier and better because of the positioning. Firstly, you will have to prepare everything before you even touch the cable. That means that you have to know on which side the fuses are. On the same side, you will have to remove the mask of the pillar that is between the door and the front window. You will also need to find a way to move it all the way down to the fuses so you might have to take off some other plastic pieces as well.
When you have prepared everything, you should just route the wires through the area that you have freed for that, and fixate it.
Find a fuse that turns on when you start the vehicle
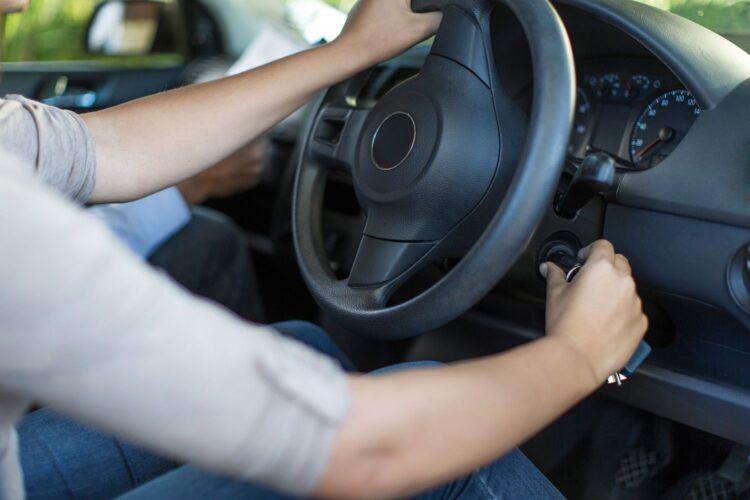
This is something that you will need a tool for it, but it is not expensive at all. You will need something that shows when there is power in the fuse and where there isn’t. There are some that work all the time, and you should not consider them. You are looking for the ones which only work when you start the vehicle. That way the cam will work only when you are using the car and will be switched off whenever you don’t use it.
Connect the wire
After understanding which fuse is the one that you should be working with, you should remove it from its place. Make sure that you are not doing this with the car running, so the best thing is to remove the key completely from the vehicle. With the package of the cam, there is a type of adapter that is meant to go where the fuse that you have removed goes. You take the fuse, and you place it on that adapter connecting everything on the panel. That way you have used the same fuse, but you have connected the cam to the same place so it is very efficient.
Find a place to secure the grounding
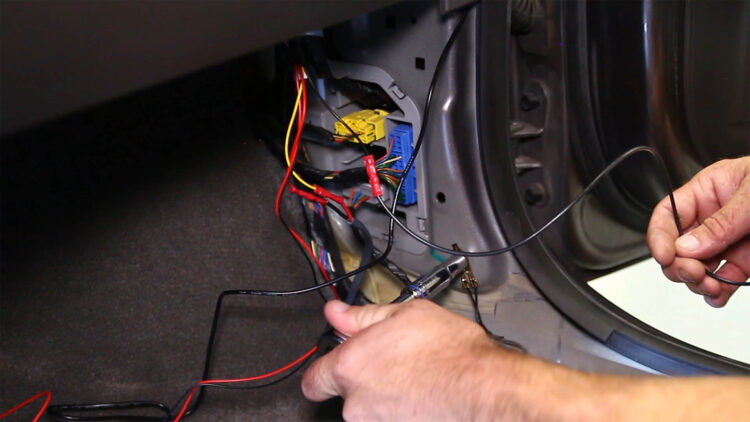
The last wire that is left is meant to be placed somewhere for grounding purposes. To do that, you will have to find a place that is most suitable for that. That place has to be close to the fuses so you don’t need to hide additional cables. You are looking for a screw that is going through metal. If it has paint on it, make sure that you remove the paint using sandpaper and you connect the cable to that screw. After that, you are done.
Manage the remaining cables
Because the people who are making these cams give you more cable than you need, so they can be set up on every vehicle that you want, you will have to find a place for them. The best place is somewhere close to the fuses so you don’t need to do an additional job. Make sure that you bind them together using some material, or just ties so they don’t get tangled or move from the place. When you hide them well, you are left with a place that looks like it is not touched, with the benefits of the cam that you have installed.
Check if you did your job perfectly
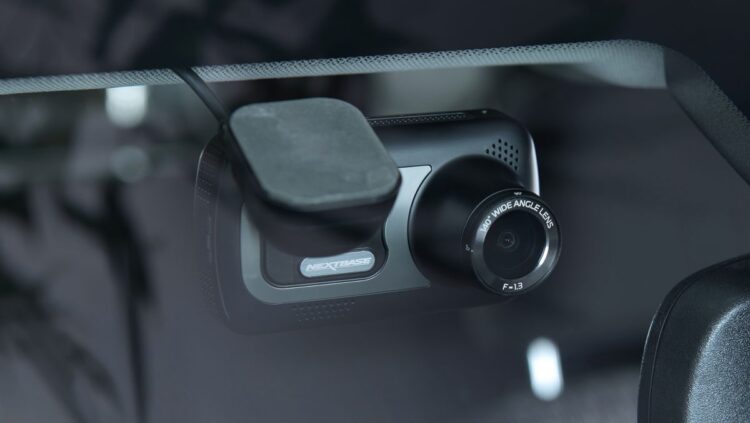
The last thing that you will have to do is to see if the device you have set up is working properly. Turn on the vehicle and check it. This is the best time to adjust the view so it can capture everything that you need and you don’t leave blind spots. If something is not right, you can correct it while you still have the masks. If your campark dash camera is working how it is supposed to, place the masks and the plastic back on and enjoy it.


