A developer’s life would have been so much harder if it wasn’t for the existence of numerous open-source technologies. As far as JavaScript libraries go, React Native takes the popularity award, and it’s not even close. It is the ideal framework for mobile app development. Moreover, you can also run it in Windows!
People view React Native as the love-child of Facebook and a few of its innovative coders. Nobody loves this technology more than front-end developers. It flawlessly utilizes CSS, HTLM, and JavaScript, giving you as a developer access to tools capable of creating fluid, dynamic and cross-platform UI’s and apps.
If you’re in need of high-quality React native development, webspaceteam.com would love to hear about your project. Significantly improved loading times and responsive user interfaces are just a few of the perks; it’s just the matter of running the native environment on your Windows that’s a bit tricky.
Here are is a shortlist of all extra tools you’ll need, and after that, we’ll share some helpful tips on how to set it up quickly and efficiently without much too much hassle:
- VSC — Any other editor option will do
- Node.js — This should be the latest build
- CLI — for React Native
- Android Studio — And its Integrated Emulator
- Windows System — Any version will do but preferably go with the newest version
- JDK
- NPM
Tips To Setup React Native For Windows
1. Node Installation
There are plenty of ways you can go about setting up React Native, but all of them start with finding the newest version of Node.js from the official website, downloading it, and then installing it on your Windows. Don’t worry about NPM, as it comes preinstalled as part of the whole package.
2. Install the JDK

In order to run Android Studio fast and without problems, you’ll need to have the latest version of the Java Development Kit installed. Go ahead and visit their site, choose the right OS, and agree to the license agreement’s prompt before starting your download and installing.
3. CLI Installation for React Native

If you’ve successfully installed the tools mentioned above, it’s time to move on to the React Native CLI. The NPM should have been installed on your machine by now as part of the package from Node. This one has a few extra steps but nothing too tough to handle.
Open up the CMD, but make sure you run it as an administrator. After that, you’ll need to enter the following code line:
- npm install -g react-native-cli
4. Android Studio Setup
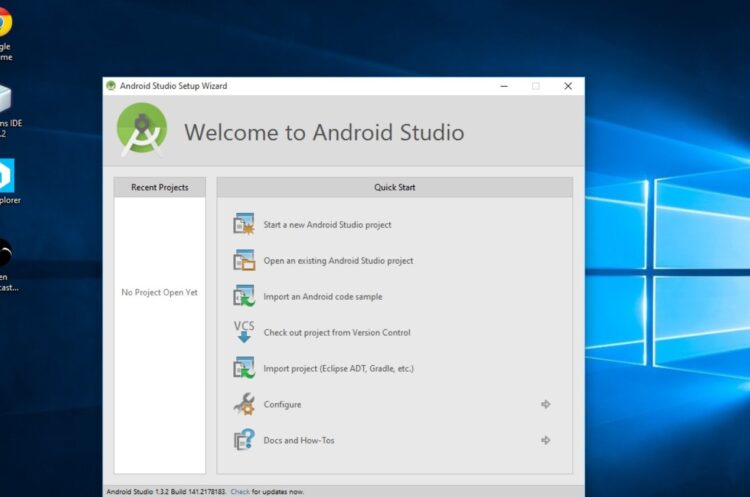
Much like before, download Android Studio from its creators’ website and go through with the installation. It should be the latest one because React Native recommends version 6.0 or above. It tremendously helps to be equipped with all the necessary SDK tools, and you can find them under the option labeled “Android SDK.”
If you haven’t started a project using the CLI, you can make one with the SDK manager’s help. You’ll also need to install an Intel x86 accelerator to use the built-in emulator from the studio.
5. Install VSC
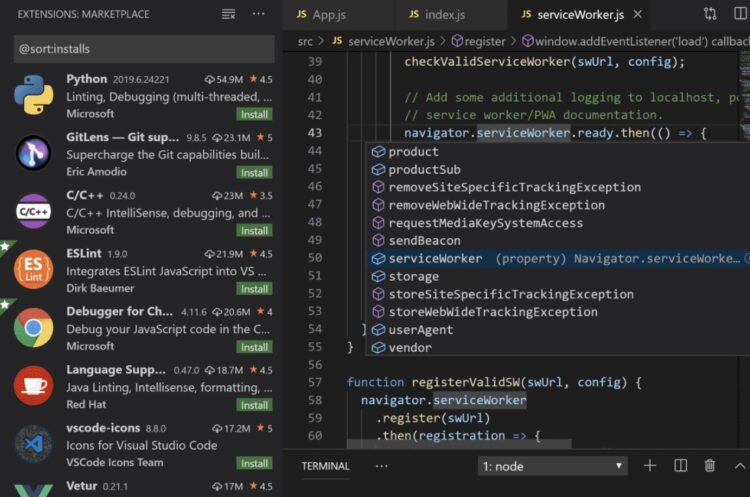
All that’s left to do at this point is to install VSC. Much like the previous steps, you’ll have to visit the official website, and as always, choosing the latest available version is recommended to avoid any unwanted problems.
One thing to note here—if you run into any errors during the installation, it probably has to do something with the JDK path. Follow through and make sure it’s configured to all specifications.
Benefits of Using React Native In Windows
If you’re still with us and have gone through the trouble of setting up this nifty technology for Windows, it’s time to do some exploring. A common question that concerns many developers is how much of a difference there really is between the code in Windows React Native and ReactJS.
React Native relies on either TypeScript or JavaScript to draw the UI, translating it into a native component. During runtime in a Windows enlivenment, all components transform into UWP and WPF.
Here are a few of the features that come with using the framework:
1. Custom Component Production
Adding new functionalities is effortless with the help of custom modules. Apart from providing you with additional UI components, these modules are essentially C# classes that extend the React Native ModuleBase class and build methods that are callable by JavaScript.
You can also wrap up view segments that are purely native and neatly integrate them with your app, like QrCodeView.

2. Clear Asynchronization Between Frontend and Backend
So how does this asynchronous communication occur? React native depends on three different methods to achieve it. More specifically, through these three:
- Promises — Native modules are capable of fulfilling a promise, simplifying JavaScript code through an async syntax.
- Callbacks — The modules allow for the support of a callback argument, relying on the invocation of native code to return a result.
- Events — Uninvoked event sending to JS is possible by utilizing the RTCDeviceEVentEmitter.
3. External Tool Support
Any good developer knows that the application development process doesn’t just involve writing code, but there are many repetitive tasks involved. With React Native, you can eliminate the possibility of human error and get rid of the nuisance of having to do them as well. All thanks to the integrated support of external tools and services made for Windows.
Many of them are available free to download and will go a long way in easing the process. Notable examples include Amplify, Sentry, Bugsnag, and Bitrise.
Closing Thoughts
There is no other framework that’s as fun and modern to develop on as React Native, and it’s a real shame that this handy piece of technology was unavailable to the public for a long time.
Times change, though, and many people are now using React Native to build incredible applications in a Windows environment, no less. If you followed our tips, you should be ready to join them by creating your very own and put your name and business out there.


